More suspension and wiring!
So.. thought I would replace the rear beam to match the front subframe. Now I’ve done a rear beam replacement before, and there was no way I was going to put the standard bushes back in there.
Bit of sandblasting and a new coat of powder and we have one of these:
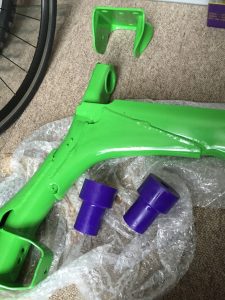
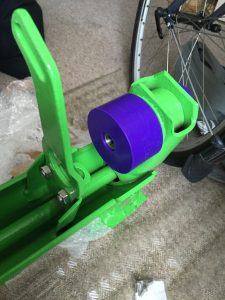
As you can see the old one was a bit grubby and looked like it had been at the bottom of the sea!
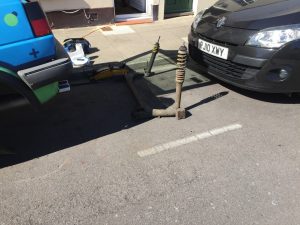
Weird floating car look!
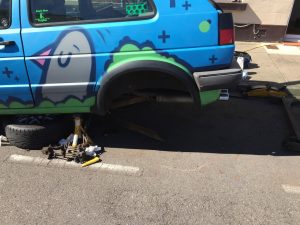
As you can see some of the nasty copper lines gave me some trouble!
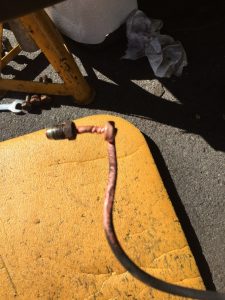
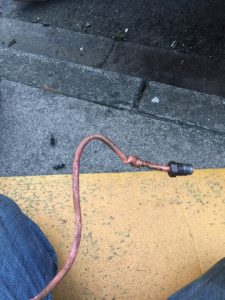
Got the new beam on and the new brake lines joined up.
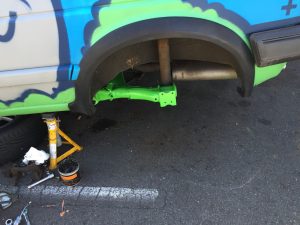
Looking lovely ish… ! Calipers will come off for a clean and some paint soon too!
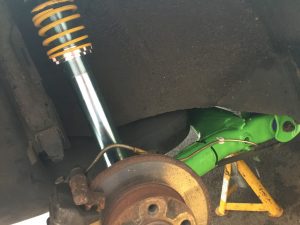
Job done! Also fitted a new shock where one had clearly leaked.
More Wiring
Something I’ve been meaning to do since I did the VR6 conversion was to swap to CE2 so it all plugs in normally. Makes trouble shooting and adding extras much easier (for example heated seats). When the conversion was originally done, I converted it all to plug into CE1, which is fine, but not how I wanted it.
This happened:
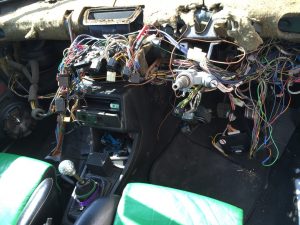
Lots of extra wires added by me over the years. All being stripped out and added properly this time.
Also took the chance to reseal the rear of the Dash. If you don’t know, the rear edge likes to split, then all the hot air escapes and warms the dash rather than clearing the front screen!
Oh and luckily there is no rust round the windscreen!
Needed some new notches in the fusebox bracket
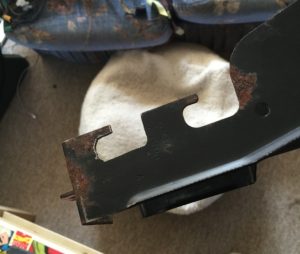
This is pretty much the difference between the CE1 and CE2 fuse boxes!
Engine loom out:
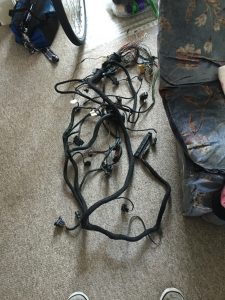
I had to re-solder the CE2 plugs back on the engine loom, and then put engine loom back in the car.
Need to plug all the plugs back in and get the loom routed better than last time. All back in and it worked fine. (Needed a little help from John Newman (RubJonny) but it all works!)
Once all the stock CE2 loom was in place a new loom section was added for the boot release and the petrol cap release. Radio wiring was also swapped at the same time to make it cleaner. Lots of zip ties and Tesa cloth loom tape made this much easier.
Heated Seats!
So one of the nice things about the Colour Concept seats was that they were heated. Mk2 heated seat switches are stupidly expensive so, I decided to use the mk3 swtich.
So they went here:
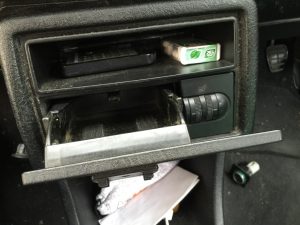
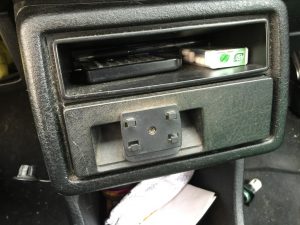
Nice and subtle, with a bit of hot glue to keep it in place it works perfectly.
That’s not quite all the wiring done, but I’m leaving a special update for the next installment!

Comments are closed, but trackbacks and pingbacks are open.